Announcement!

I Have A Notion blog and store have moved to:


the store can be found at


There is a much easier to navigate store, with new items. The blog has its own page as well... new content too.

The blog is now at www.ihaveanotion.com/blog

Please come and visit!
Showing posts with label Mistyfuse Product Review. Show all posts

Tuesday, February 26, 2013

Mistyfuse Saved the Day!


Hey, y'all! It's Jean(ie) from Jean Creates. Kelly asked me post today for her today. Let's talk about quilting and one of my favorite IHAN products, Mistyfuse.

 
Pattern is Evening Bloom by Blackbird Designs
From their book entitled 2010 book entitled, Country Inn
 
For those that dare to venture over in my corner of the blogosphere, they know I'm working on an applique quilt right now. I'll be honest, the project started as a class two years ago (can you believe it?). The class was to learn an applique technique using a fusible interfacing that you stitch and turn with your fabric to look like needle turn applique. I'm a beginner sewist and not really adept at sewing curves (and my pattern has a lot of curves!) and the class method was quite cumbersome with all those little pieces, hence it became a UFO. It just wasn't happening. You know the story, as I'm sure you've been there once or twice in your life.

 
Snoqualmie Pass, Washington State
 
Well, one afternoon I was riding through the Northern Cascades (here in Washington State), and had an AHA! Experience. see that misty cloud in the mountain pass? That was the spark -- Fuse it with Mistyfuse! Until then I totally forgot that I had Mistyfuse on hand, so I turned it into a raw edge project instead.

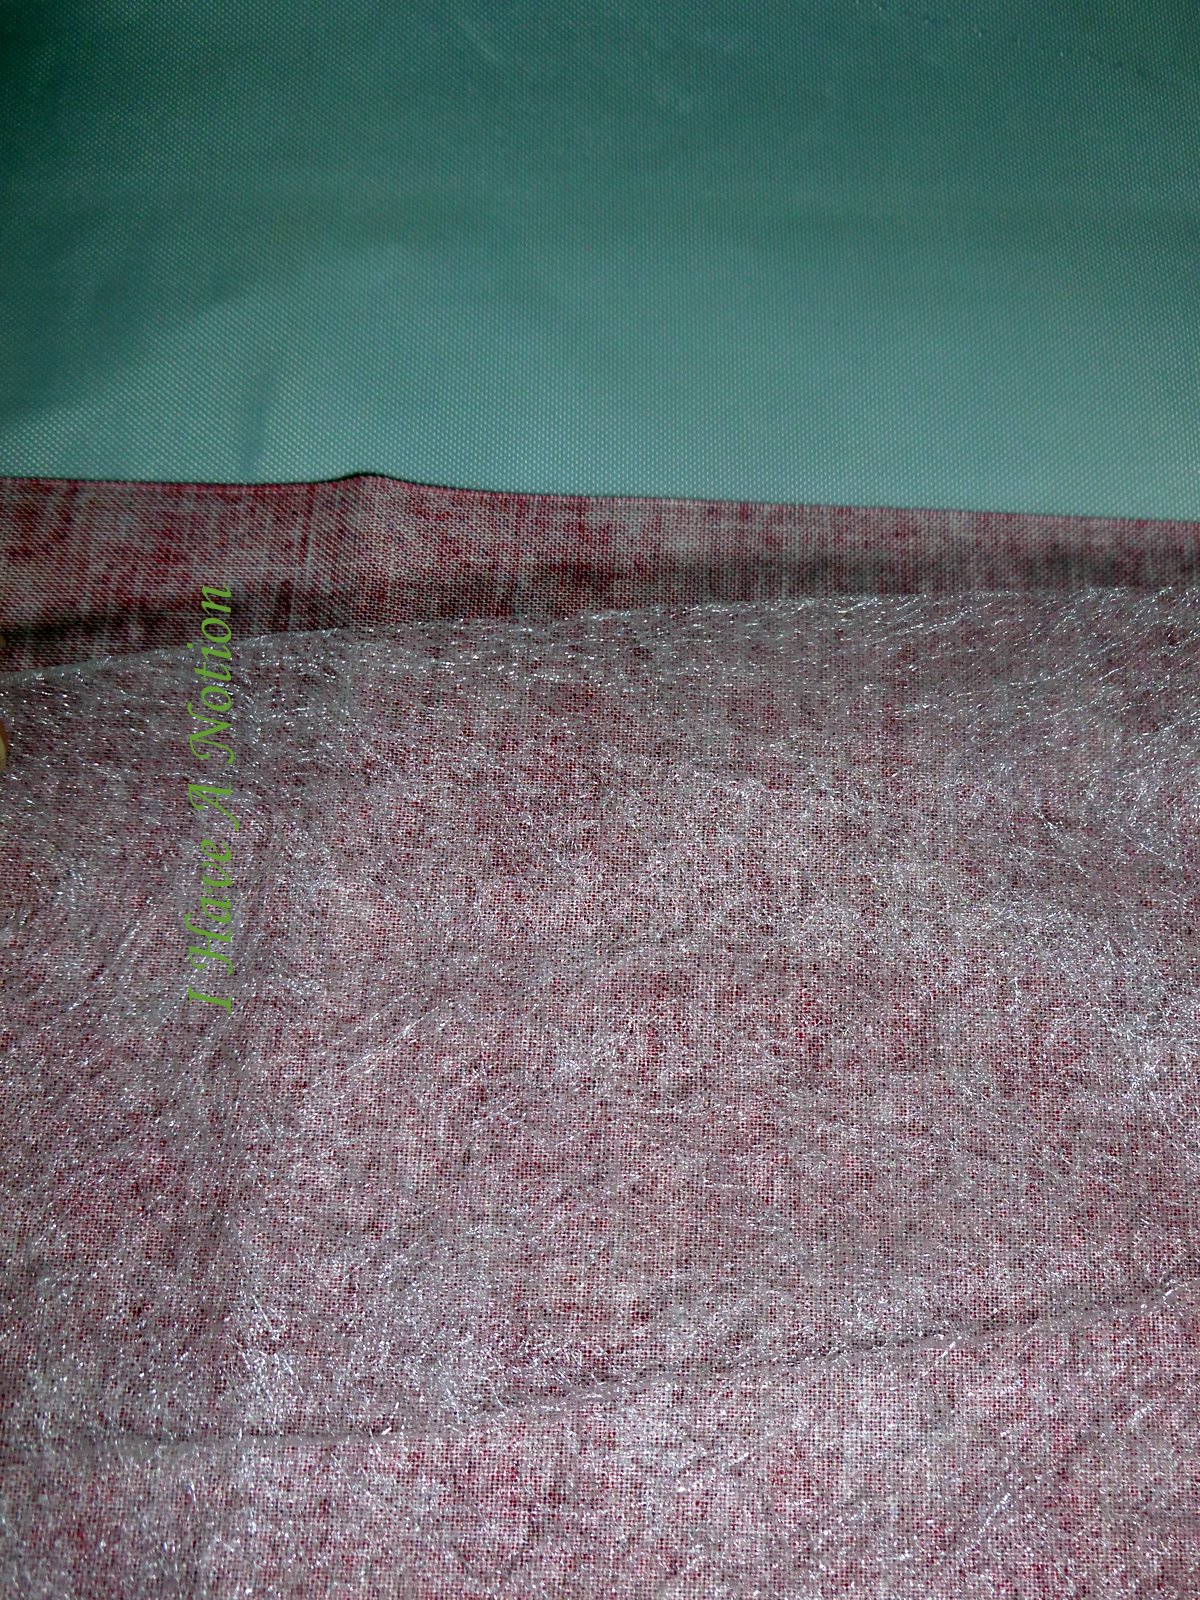
I spent two days tracing cutting and fusing itty bitty flower shapes to get all the flowers on the quilt. And I've got to say that the Mistyfuse rocked socks! I took my parchment and traced the shape from the book, fused some Mistyfuse to fabric scraps using my iron and non-stick sheet (you can use parchment as well), and then put the shape template on top and cut. And when I was done with all my shapes, I fused my pieces to the block. Easy peasy!

I've always been a huge fan of this product and it's versatility. You can make fabric using this stuff, you can even baste a quilt with it! I betcha didn't know that. Just cut the Mistyfuse up into little pieces and sprinkle it in your quilt sandwich. I read that on a tip sheet.

Why do I choose this product first when fusing? Very simply put, it's the easiest to use. With Mistyfuse you don't have to worry whether or not you have the sewable or non-sewable version. There's no waste (I save my scraps and re-use them), the adhesive won't gum up your scissors, needle or sewing machine, and most importantly, it is lightweight and holds strong.  You can barely tell it's there and the fabric maintains it's drape (unlike other fusibles). That's why Mistyfuse is the fusible of my choice.

I'm pleased to say that Mistyfuse saved the day!

Wednesday, August 10, 2011

Raise Your E-Notion IQ - Mistyfuse and Applique Template Paper Product Reviews


It's Wednesday again....that means it's time to "Raise Your E-NotionIQ" here at the IHAN blog.  This post would have been up bright and  early but blogger and picasa were fighting with me....better late than never ay? 
Let's start with one of my favorite products...Mistyfuse.  I can't believe it when people say, "I've never heard of Mistyfuse" or "I don't know how to use Mistyfuse."  All I can think is Really?  Let's not let that happen to you or any of your friends :)
Mistyfuse is a fusible that doesn't have paper on the back.  It is one of my favorites because it is so light...you don't have that heaviness that most fusibles leave on your fabric....you can barely feel it behind your fabric.  It works great on all fabrics....cotton, tulle, organza, velvet...it even works on paper
I'm working on my Power Suit Challenge piece so this is a perfect time to show you how I use Mistyfuse.  First....I'm going to show you my inspiration pile of fabrics...I'm not going to give too much information here...not until the big reveal of my Power Suit Challenge submission.


So, this is what Mistyfuse looks like out of the package....light and paperless....just like I said.
You can see in this photo above that I've laid the Mistyfuse on top of the wrong side of a piece of fabric.  Then I take my Goddess Sheet (you can use a Goddess Sheet, another Teflon pressing sheet or parchment paper) and I lay my Goddess Sheet over the Mistyfuse.  Next, I press....Mistyfuse loves heat so don't worry about scorching it. 
Yep, I even took a picture of me pressing the Mistyfuse to the wrong side of my fabric.  :)  After I press it I lift the Goddess Sheet and the fusible is now on the back of my fabric.  It's not magic....its Mistyfuse...LOL.

Since I'm working on my Power Suit Challenge project I'm going to walk you step by step how I made my applique shapes. 
After I fused the Mistyfuse to my fabric I went over to my printer and took my pattern (drawn by the one and only Jean...formerly known as Lois Grabowski :) and I printed each section onto a piece of Ultimate Applique Template Paper.

In my printer the side you want to have printed on goes in facing forward...the shiny side goes toward the back.


Then I press the Applique Paper to the front of my fabric.  You can do press the Mistyfuse and the Applique Paper at one time...for the sake of demonstration I'm doing them separately.
and then cut out my shape. Notice I'm trying very hard not to show you the design? Quit trying to figure it out....its gotta be a surprise!

Now wasn't that simple?  I just peal off the Applique Paper and fuse my piece in place.  I know there are a lot of other methods for transferring designs....I just like this one so I thought I'd tell ya about it. 

Many of you are thinking...then why don't ya just use the other fusibles that come on paper...right?  I'll tell ya why....because those other ones are stiffer and I like my pieces to look and feel like they are one piece of fabric.  There is no added adhisive so it does not gum up your needles...it is light and it feels like its not there.
 
Ok, back to Mistyfuse.  I told ya earlier you can use it on paper and now I'm going to show you a fun way to make a party napkin into a fusible by pressing Mistyfuse to the back and you can sew with it or use it in a collage (of course if you sew with it ya don't was the art piece...don't say I didn't tell ya).


If you use paper napkins....check to see if there is more than one layer of paper used. 
You can see here there is a white background to the napkin....I removed that layer by just pealing it back and off.

Then I did the same thing I did with fabric...put Mistyfuse on the wrong side of the paper napkin and....

Wahhhhh Laaaaa....you have fusible paper napkin....fun isn't it?  If you are the creative sort and want to make a thread design...sort of like a free form art embellishment...you can make your thread fusible too. 

Here you can see I took some thread off the spools and put them together and placed them between my Goddess Sheet that I had folded in half -Goddess Sheet on top and bottom with the thread and Mistyfuse sandwiched in between.
You guessed it...I pressed the thread sandwich....silly to show all the photos but like I always say...I'm a visual person so it helps me to demonstrate each step.
When I opened the Goddess Sheet this is what I had....purple and orange thread fused together.  I didn't press it too long because if I had all of the Mistyfuse would have disappeared....and I wanted some left to make my thread embellishment stick to my background fabric.
This is a before pressing photo.


Yep...pressing the thread to the black fabric....
And here is the thread fused to the black fabric.  If I had put the Mistyfuse over the threads on the black fabric and pressed you would still see some of the Mistyfuse on the black fabric...it shines a little so that's why I put the Mistyfuse on the thread first.

That's my story and I'm sticking to it!!!  Now you can't say you've never heard of Mistyfuse or Ultimate Applique Paper for that matter.

Smiles,
Kelly

Translate

Related Posts Plugin for WordPress, Blogger...